
Tutorial 01 · Preparation
How to prepare hair to make two scalp braids
Start with clean, thoroughly rinsed hair and scalp, completely dry before applying styling product. Then detangle, divide into two and work with very little product.
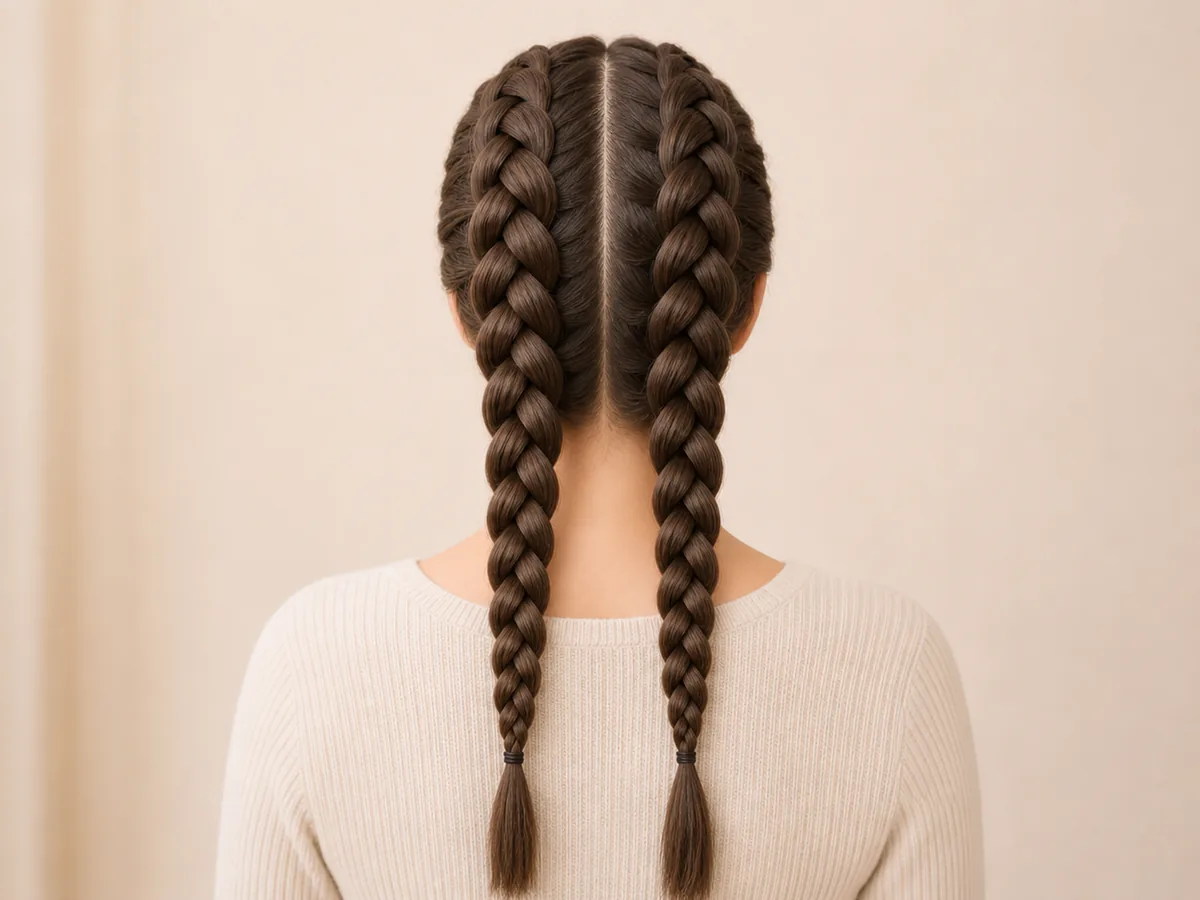
- Level
- Beginner
- Practice
- On another person
- Result
- Two balanced areas
- Next
- One half at a time
Before you begin
Check the hair, scalp and materials
Ask whether the person has sensitive skin or has reacted to products before. If you see wounds, scabs, inflammation or there is pain, do not apply styling product or make a tight braid: postpone the hairstyle.
- 01Brush or combSuitable for the hair texture
- 02Rat-tail combFor a continuous parting
- 03Two sectioning clipsOne for each half
- 04Light-hold styling productOptional and suitable for your hair
Step 1
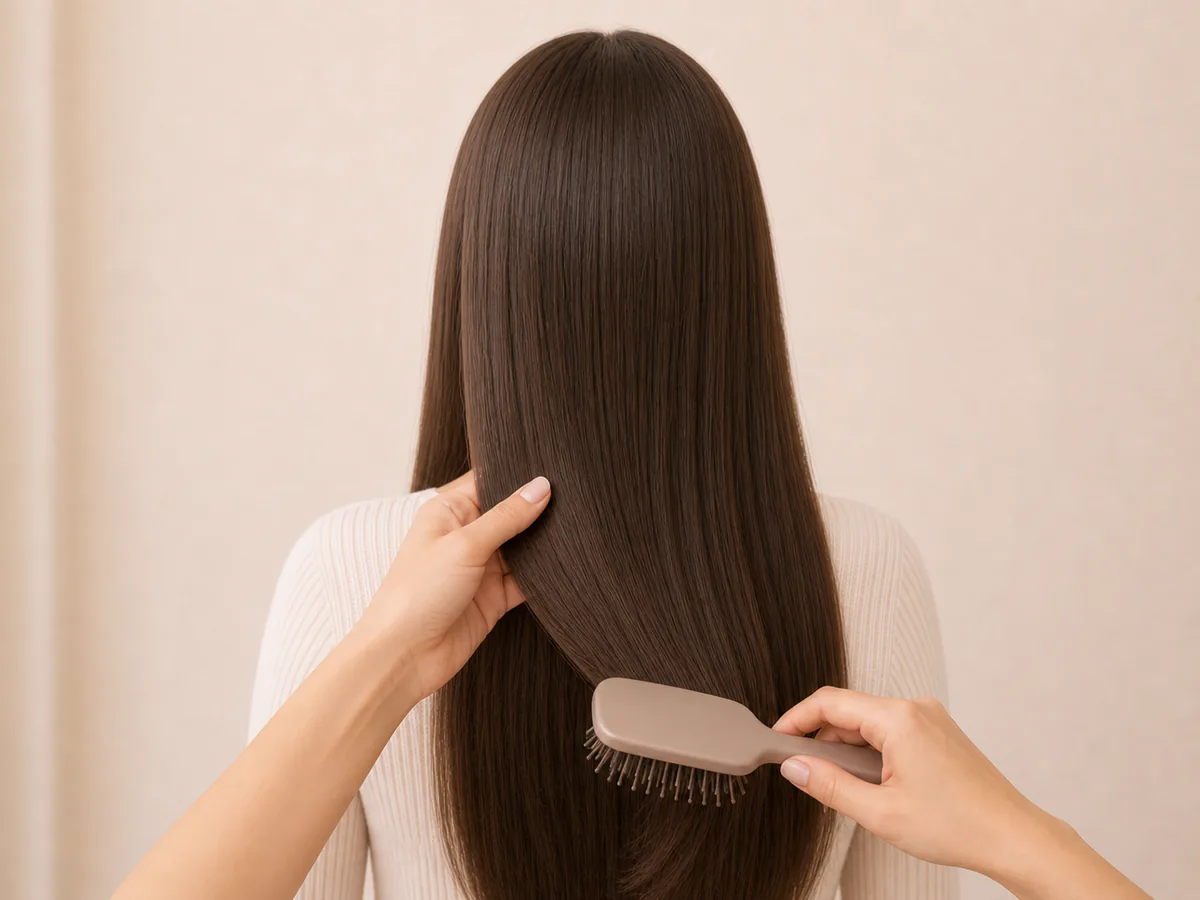
Wash, detangle and dry completely
Wash gently and rinse thoroughly to remove oil and product residue. Apply conditioner according to the hair's needs. For this hairstyle, begin sectioning and applying styling product only when the roots, scalp and lengths are dry.
Detangle without pulling
For straight or wavy hair, start at the ends and work upwards gradually, holding the strand above the brush.
For very curly, Afro-textured or textured hair, it may be safer to detangle damp hair with conditioner, working in sections. Then dry it gently before braiding.
- No build-up
- No knots
- Completely dry before braiding
Step 2
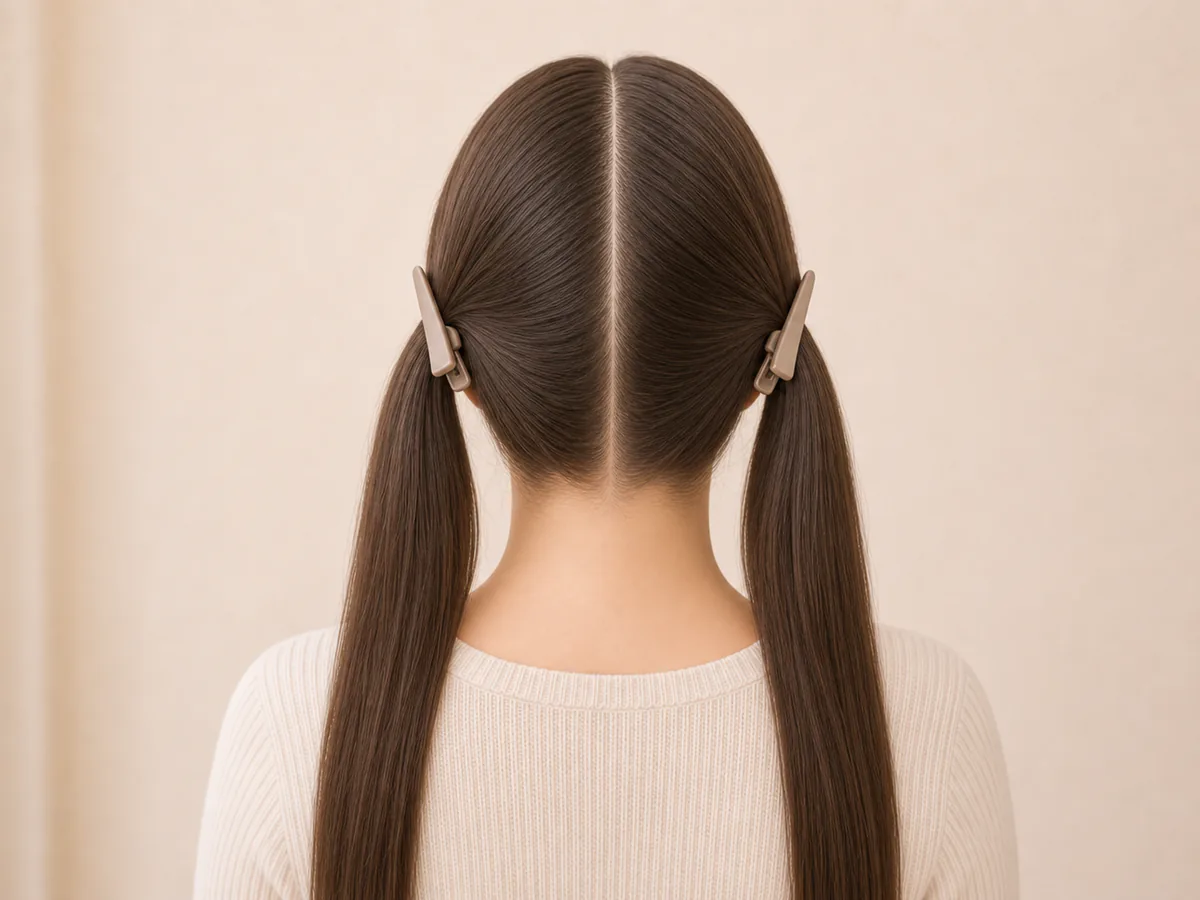
Make the centre part and separate the two halves
Keep the head upright. Mark the centre of the front hairline, then guide the comb's tip in one continuous line over the crown to the centre of the nape.
Secure each side straight away
Move all the hair on the left into area A and the hair on the right into area B. Clip each half away from the parting so no strands cross it.
Check the parting from both the front and back. Aim for visual balance: a cowlick or differences in hair density may mean the two halves do not have exactly the same volume.
One continuous line: centre of the forehead → crown → centre of the nape.
Step 3
Apply product only where needed
Hair wax is not essential. A water-based styling gel with flexible or medium hold, or a lightweight cream suitable for the hair, is often easier to distribute. Always follow the manufacturer's instructions.
Start with a minimal amount
Take a small amount on your fingertip, rub it between your fingers and spread it into a thin, clear film. Clumps, white residue or wet-looking roots mean you have used too much.
Work in sections
Apply a light layer to the hairs bordering the parting and the small starting section. Then add only what each active subsection needs; do not coat the entire head or create a layer over the scalp.
Step 4
Check the starting point before braiding
Keep one half securely clipped and start on the other. The person should remain comfortable, and the parting should stay clear from beginning to end.
You are ready to start if…
- The hair is dry, detangled and free of visible residue.
- The parting continues all the way to the nape.
- No hairs cross from one half to the other.
- The product is barely visible and does not coat the scalp.
- There is no pain, stinging or tightness before starting.
Washing provides a clean base without build-up, but wear duration also depends on technique, texture, tension and aftercare.
Avoid these mistakes
Common mistakes when preparing the hair
Braiding damp hair
For this finish, first complete gentle drying of the roots, scalp and lengths.
Using too much hair wax
Using more does not guarantee a longer-lasting style and can leave residue. Start with very little product.
Pulling to correct the parting
Do not scratch the scalp with the comb's tip. Separate, check and correct gently.
Confusing firmness with pain
A professional braid should not hurt. If it feels uncomfortable, loosen it before continuing.