
Tutorial 02 · Beginner level
How to make a basic scalp braid on someone else
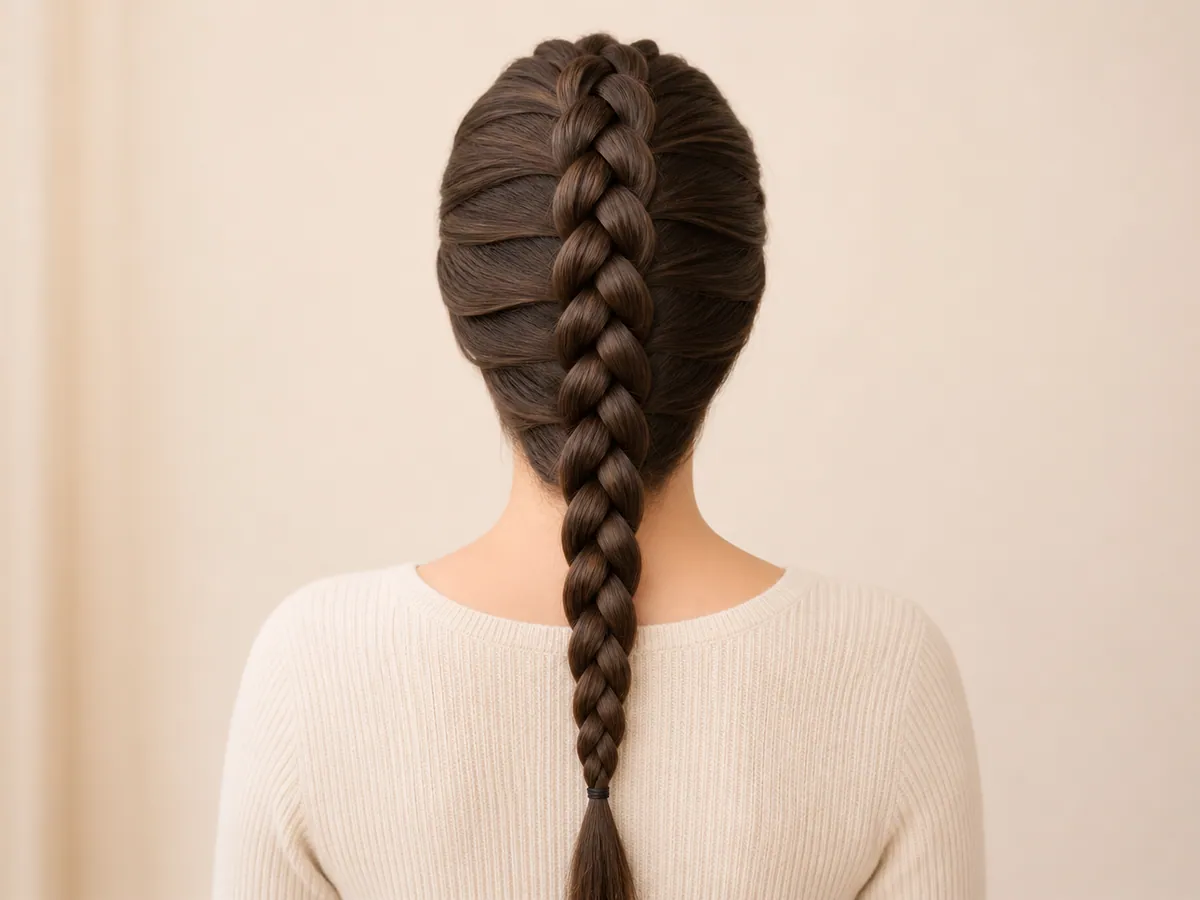
This guide demonstrates the technique with one central braid so each movement is easier to follow. To make two braids, use the same sequence in one half and repeat it in the other.
Technique note: here we explain crossing underneath (a raised scalp braid, also called a Dutch braid). For the traditional flat effect of a French braid, cross over the top; the same preparation and partings still apply.
- Level
- Beginner
- Practice
- On another person
- Technique
- Crossing underneath
- Goal
- One braid in each half
Before you begin
Prepare the hair and materials
This tutorial starts with clean, completely dry, detangled and sectioned hair. The images use a central braid for a clearer close-up demonstration; if you have followed preparation tutorial for two braids, keep one half clipped and practise all the steps within the other half.
- 01Rat-tail combFor clean partings
- 02Detangling brushTo remove tangles without breaking the hair
- 03Sectioning clipsFor holding the remaining hair out of the way
- 04Metal-free elastic hair tieTo secure the braid without damaging the hair
Step 1
Make the partings correctly
Separate the starting section
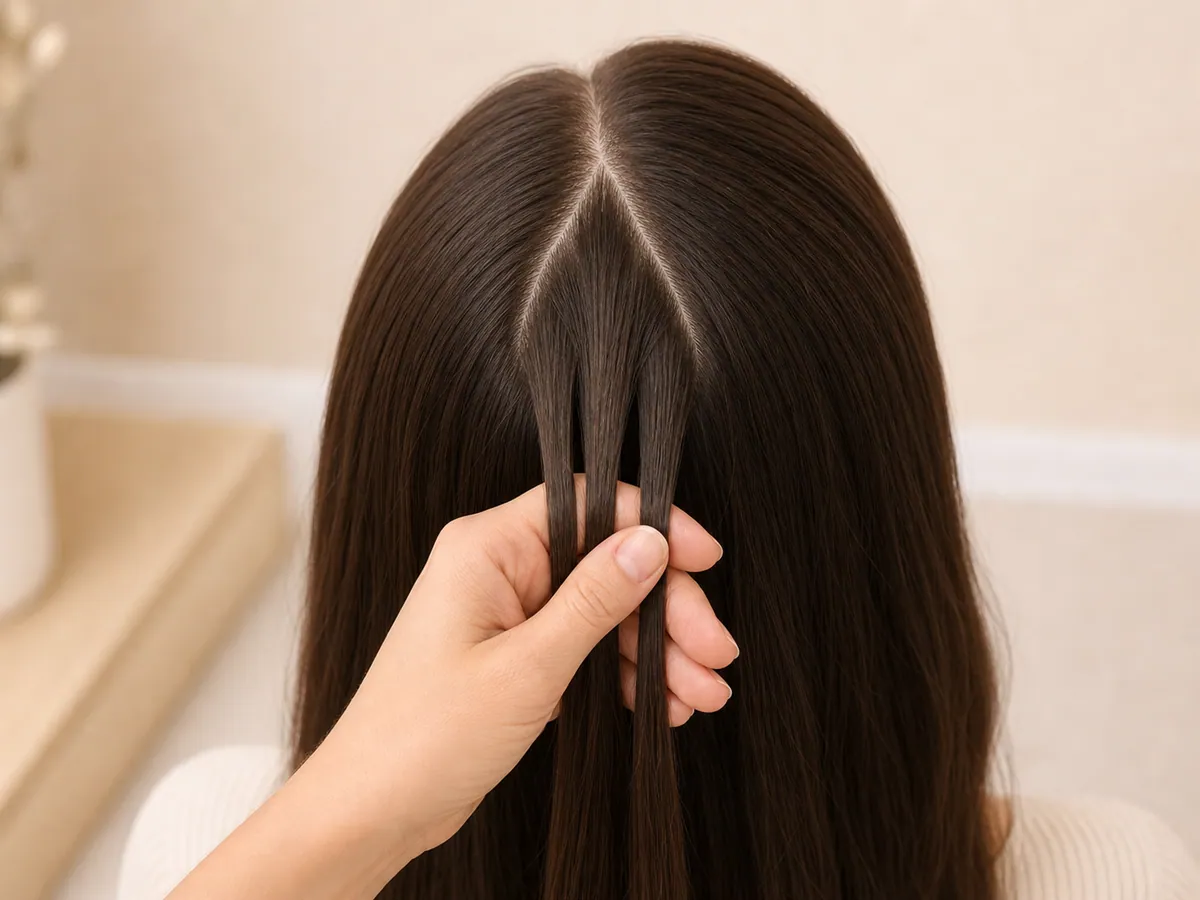
For the central demonstration, make two diagonal partings to create a small section at the top. For two braids, make the same section at the start of the half you are working on, without taking hair from across the centre part.
Divide it into three
Divide the section into three strands of similar thickness: left, centre and right. Make sure you can distinguish them before the first crossing.
- Two clean lines
- Three similar strands
- Separate outer strand
Steps 2–4
Scalp braid step by step
Secure your grip on the three strands
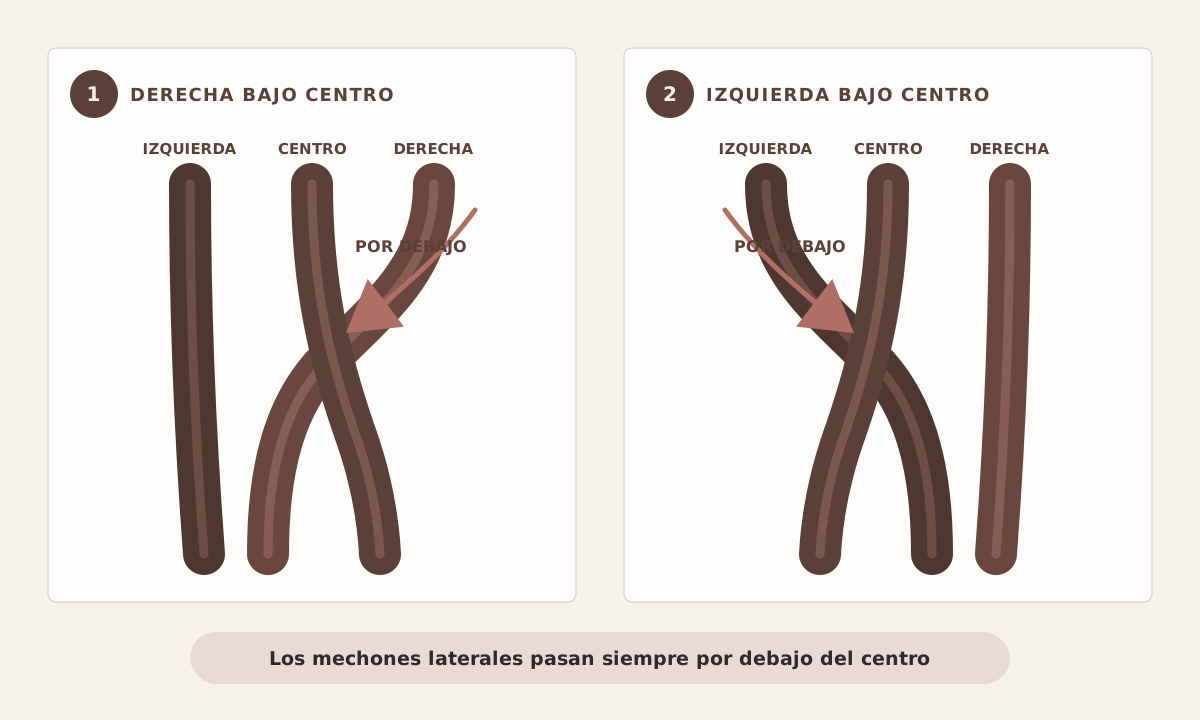
Cross the right strand under the centre strand. Then cross the left strand under the new centre. Make these two crossings without adding hair.
Key rule: the outer strands always go underneath.
Add hair before crossing
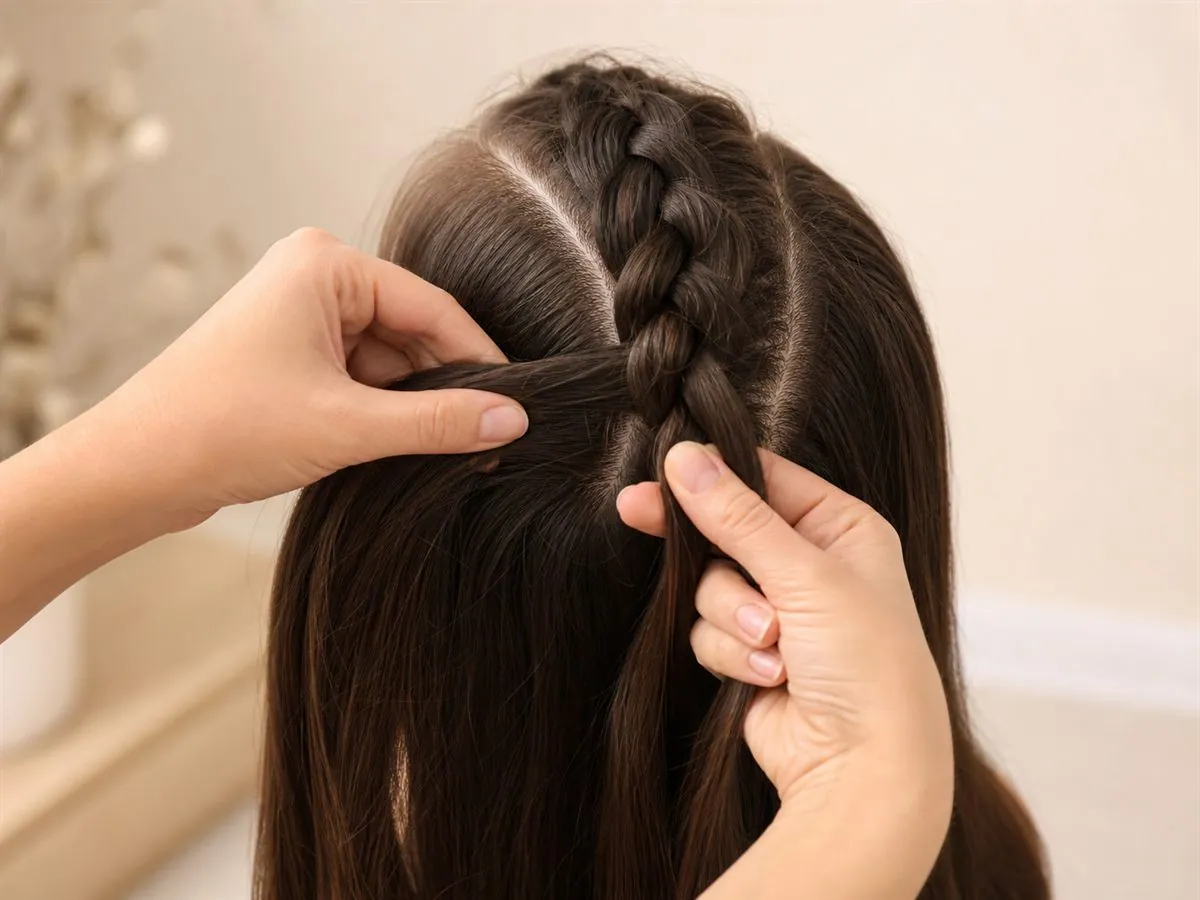
Take a thin section from the right side and add it fully to the right outer strand. Cross the combined strand under the centre. Repeat on the left side.
Keep new sections similar in size and smooth them towards the braid's path. When making two braids, add hair only from the half you are working on and keep the centre part clear.
Continue to the nape
Alternate right and left, keeping your hands close to the scalp. Once there is no more hair to add, continue as a three-strand braid and secure it with a hair tie. For a two-braid style, release the other half and repeat the sequence symmetrically.
- Central braid
- Even sections
- Tension without pain
Final check
Common mistakes and how to correct them
The braid does not stand out
You are probably crossing over the top. Always bring the outer strand under the centre.
It drifts to one side
Keep the sections equal in size and use similar tension on the right and left.
Bumps appear
Smooth each new section and join it fully to the outer strand before crossing.
The roots hurt
There is too much tension. Loosen the braid immediately and redo that section with a more relaxed grip.