
Tutorial 04 · Basic care
How to care for and wash two scalp braids
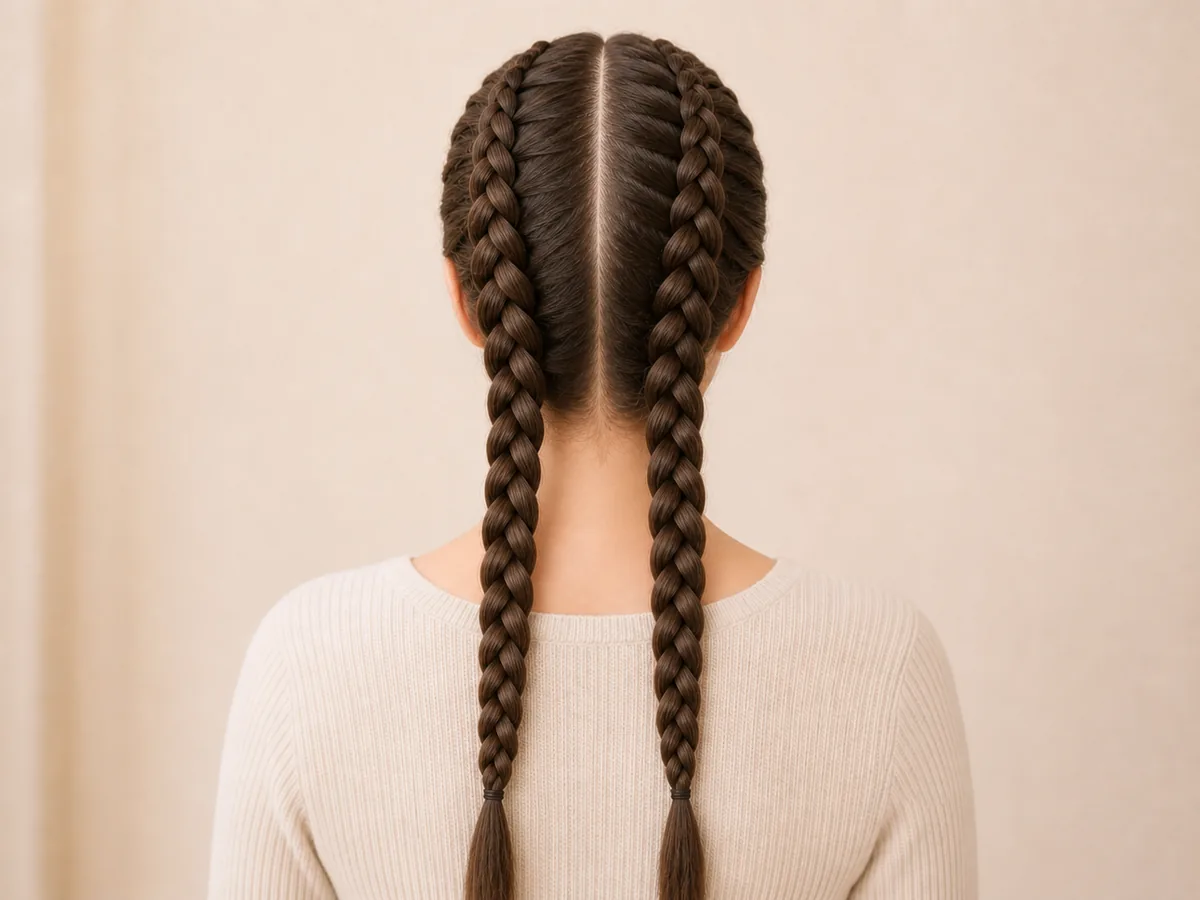
A gentle routine keeps the scalp clean without undoing the hairstyle: check tension, wash along the partings, rinse well, use styling product only if needed and dry completely.
- Level
- Basic care
- Washing
- As needed
- Priority
- Clean scalp
- Finish
- Complete drying
The complete learning path
Care for the result while keeping the technique in mind
If you came straight to this care tutorial, you can first review how to create the base and, if your braids contain extensions, also read Tutorial 03.
Before washing
Check comfort and the scalp first
Gently separate the braids and examine the partings, hairline and nape. If there is pain, stinging, scabbing, raised skin or irritation, do not hide it with more product: loosen or remove the style and seek a dermatological assessment if discomfort or hair loss persists.
- 01Gentle shampooSuitable for the hair and scalp
- 02Soft towelMicrofibre towel or clean T-shirt
- 03Optional mousseOnly if suitable, following the label
- 04Drying and protectionOptional hairdryer and satin or silk for the night
Step 1
Wash the scalp along the partings
There is no universal washing schedule. Wash when you notice oil, sweat, flakes, odour or product build-up, adjusting the routine to your hair type and scalp needs.
Use your fingertips, never your nails
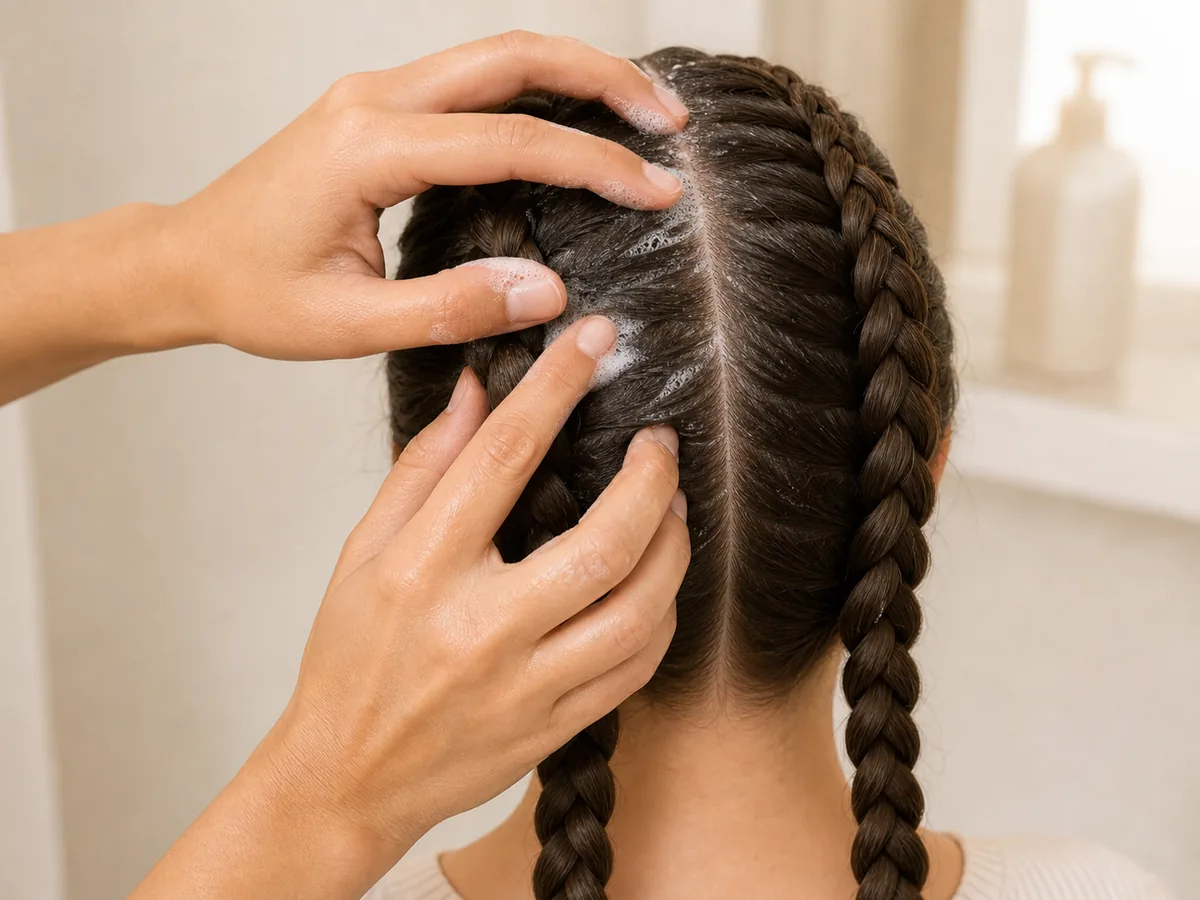
Wet with lukewarm water. Distribute a small amount of gentle shampoo along the centre part, sides and nape. Massage the scalp with your fingertips using short, gentle presses, without bunching or twisting the braids.
Let the lather running down clean the lengths. If visible build-up remains, wash gently again instead of scratching.
- Lukewarm water
- Shampoo on the scalp
- Use your fingertips without scratching
Step 2
Rinse and remove water without rubbing
Let water run along each parting until no lather remains. Incomplete rinsing can leave residue and worsen itching.
- 01Rinse in sectionsForehead, centre part, sides and nape
- 02Press the lengths gentlyBetween your hands, without twisting the braid
- 03Wrap gentlyThe towel absorbs; it does not rub or pull
Check before continuing: if the rinse water is still foamy or you can feel product between the braids, rinse again. Styling mousse goes on afterwards, not over shampoo residue.
Step 3
Apply mousse only if you want to set the finish
Mousse is optional. It helps smooth flyaways and provides light hold, but it does not “seal” the hair or replace washing and drying.
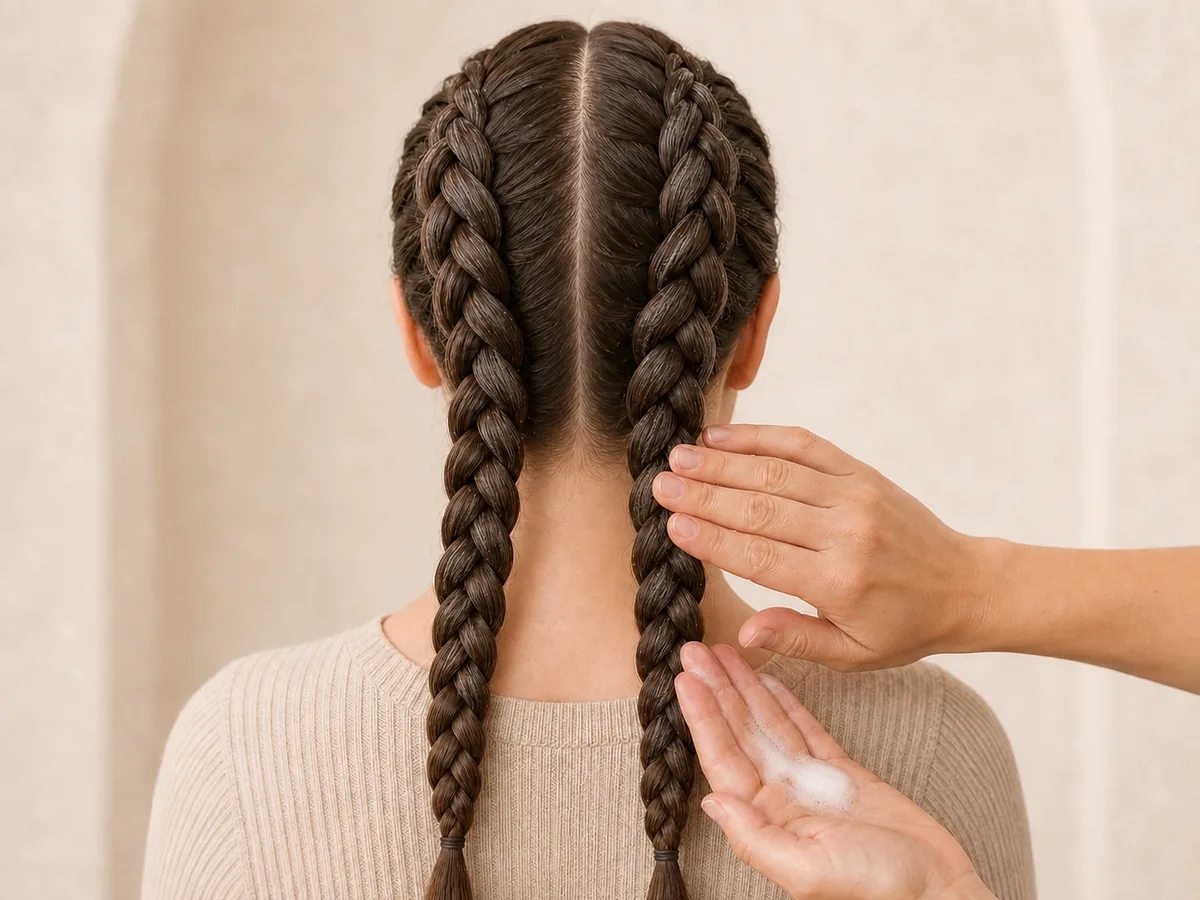
Apply a light, even layer
Choose a suitable mousse and follow the manufacturer's amount and application instructions. Spread it between your palms first, then smooth the surface of the braids from the roots through the lengths without scratching or saturating the scalp.
For example, the Braidzone mousse we consulted specifies air drying or low heat for 3–5 minutes. That time applies to that product: if you choose another, follow its own label.
Do not use it on irritated skin. If stinging, redness or residue appears, rinse it out and stop using the product.
Setting means smoothing the finish; the braid is only ready once it is completely dry too.
Step 4
Dry the roots, nape and lengths completely
Start by removing excess water with a towel. Then air dry or use a hairdryer on a cool or low-heat setting. Keep the airflow moving and do not rest the nozzle on the hair or scalp.
Check the areas that hold moisture
Direct the air at the roots and nape first, then follow each braid to the ends. Keep changing sides to avoid concentrating heat in one area.
Before covering your hair or going to bed, feel between the bases, beneath the nape and along the thickest parts of the lengths. If an area feels cool or damp, continue drying gently.
- Dry roots
- Dry nape
- Dry lengths

Before covering them: check the roots, nape and lengths again. If they still feel damp, continue drying gently. Checking by touch is only a guide; dermatological sources support low heat and gentle hair handling.
Avoid these mistakes
Common mistakes when washing and drying braids
Skipping washes to make braids last
The aim is not to preserve a hairstyle at the expense of hygiene. Wash when your scalp needs it.
Scratching with your nails
It can irritate the skin and disturb the braid. Clean with your fingertips using gentle movements.
Rubbing with a towel
Press gently to absorb the water. Do not twist the lengths or rub the braids against each other.
Adding too much mousse
Mousse is optional and does not clean the hair. Too much can leave residue: always follow the label.
Covering damp braids
Check the roots, nape and lengths before putting on a bonnet or going to bed.
Ignoring pain or hair loss
Loosen or remove the hairstyle. If the signs persist, consult a dermatologist.