 English
To wash box braids or knotless braids at home, mix a gentle shampoo with lukewarm water, apply it along the partings and massage your scalp with your fingertips: the lather that runs down cleans the lengths. Rinse until no foam is left, press with a towel and dry them all the way through before you tie them up or go to bed.
Before you begin
There is no single rule. The British Association of Dermatologists suggests washing Afro-textured hair every one to three weeks, or sooner if product or oil builds up, and a Baylor College of Medicine dermatologist recommends every two weeks in braids. None of these sources sets a waiting period after your braids are done: if you sweat or feel itchy, do not wait.
- A gentle shampoo.
- An applicator or spray bottle to dilute it with water.
- A light conditioner or a leave-in.
- A microfibre towel or a cotton T-shirt.
- A hairdryer with a cool or low setting, or a few hours to air-dry.
Wash them when you have the rest of the day ahead, not right before bed. Use a little product that rinses out easily. And if a braid hurts or pulls, read “When to stop and get advice” first.
Step by step
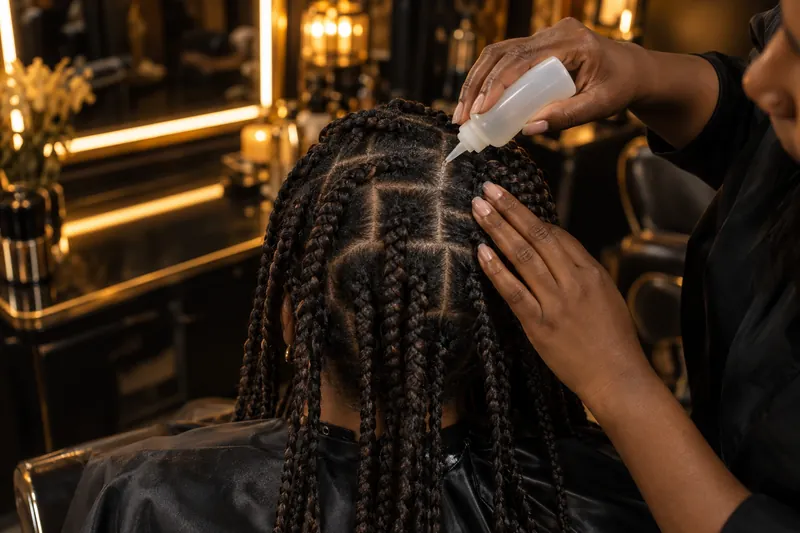
1. Wet your scalp
Tilt your head and let lukewarm water run along the partings and then down the lengths. You are on track if you feel the water on your skin, not just on the braids.
2. Apply shampoo along the partings
Rest the nozzle on each parting and work section by section, from forehead to nape. If the lather forms right against your skin, it is reaching the right place.
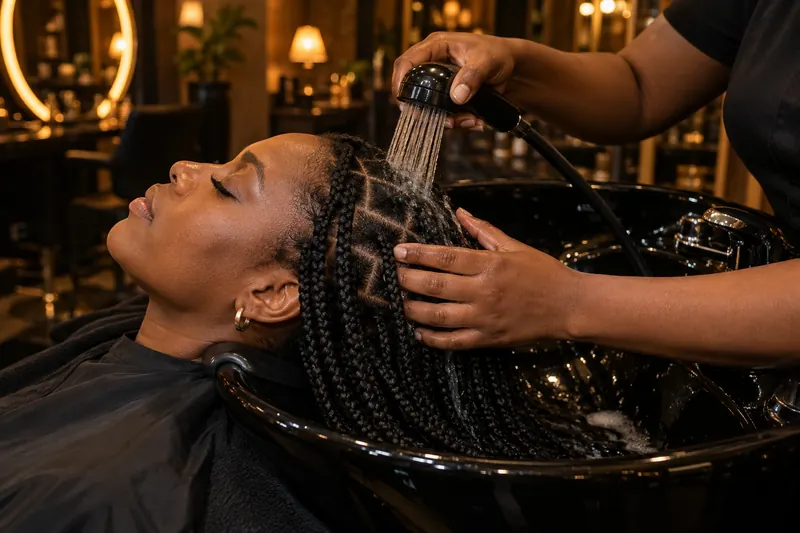
3. Massage with your fingertips
Press and release without using your nails or rubbing one braid against another. You are doing it right if the bases stay in place and nothing pulls.
4. Rinse thoroughly
Aim the water at the partings and gently squeeze each group of braids downwards. You are done when no more foam comes out as you squeeze.
5. Condition without leaving residue
Use a little diluted conditioner on the stretch where your own hair is, and rinse it out just as well; a light leave-in also works. No white residue should be left between the braids.
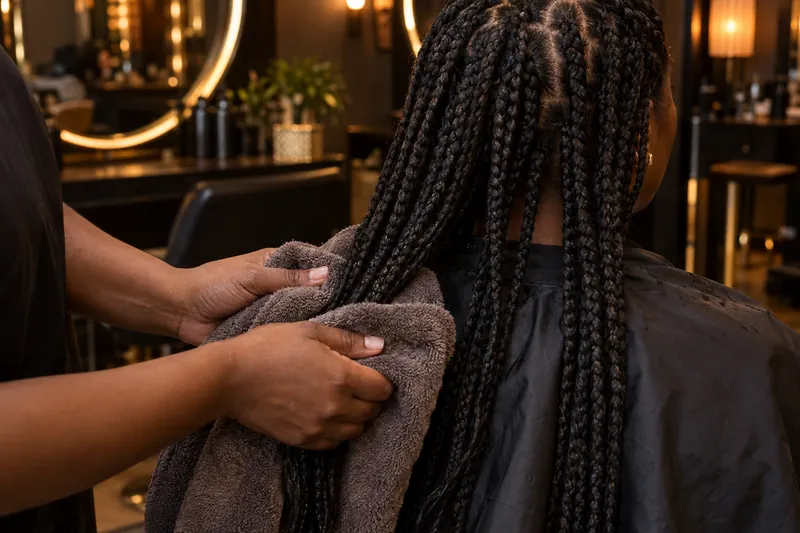
6. Press with the towel
Wrap the braids in groups and squeeze without twisting or rubbing. Once they stop dripping, move on to drying.
Dry them inside, not just outside
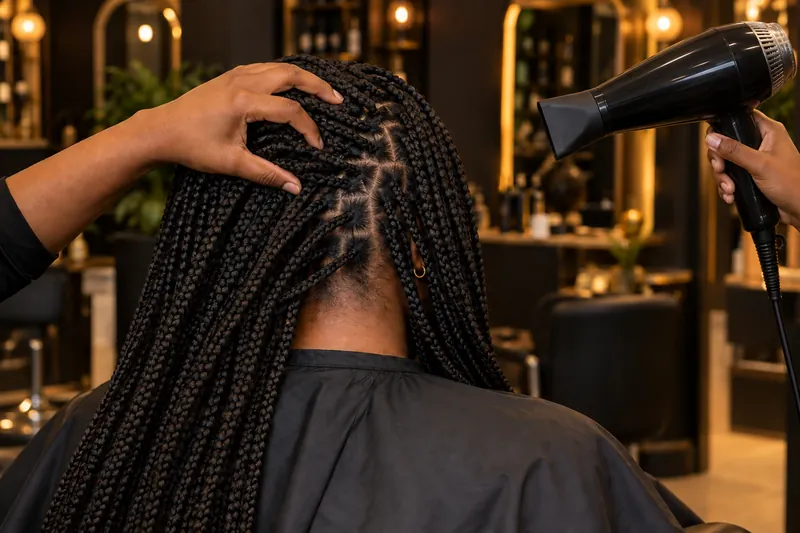
Braids can look dry on the outside long before the roots and the inside are, and water left inside can smell musty. The British Association of Dermatologists warns about this with locs: without thorough drying, mould can build up.
Air-drying
The gentlest option for your scalp and hair. Leave the braids loose and spread out, and allow several hours.
Hairdryer
Cool air or low heat, kept moving and never resting on your head, starting with the roots and nape. A hooded dryer on a low setting also works.
For synthetic extensions, follow the fibre manufacturer’s care instructions. Avoid high heat and keep the dryer moving at a distance.
How to tell they are dry
- Part several braids and check for moisture at the roots. A cool feeling alone does not prove they are wet.
- Check your nape and the braids underneath, which get the least air.
- Squeeze the thickest part of a braid in a dry towel: if the towel gets damp, keep drying.
Until all three checks pass, do not tie them up, cover them or go to bed with them.
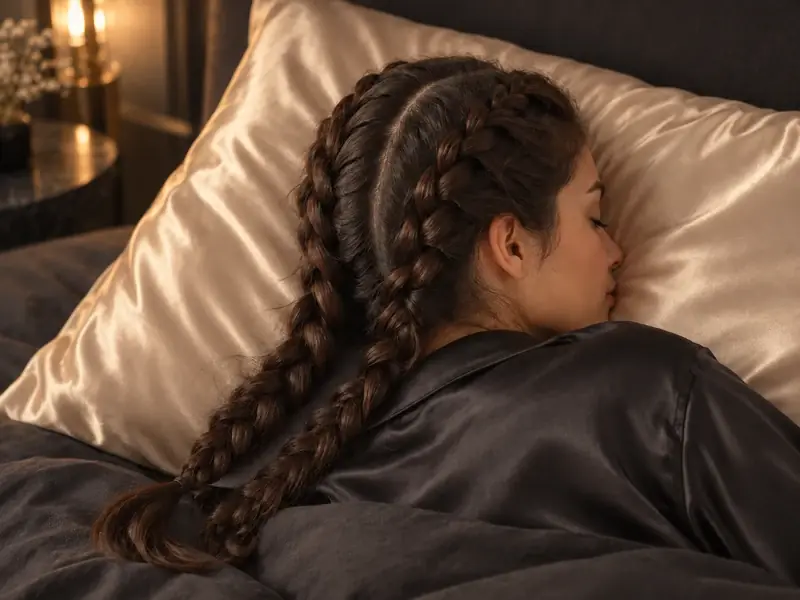
Once they are dry, here is how to protect them at night.
Common mistakes
- Rubbing the braids together or with the towel: they frizz. Press instead.
- Drying with hot air and the nozzle against your head.
- Putting them in a bun while wet, when they are heaviest and slowest to dry.
- Washing less often to make the style last: product buildup can irritate your scalp.
By braid style
Traditional box braids, knotless braids and other individual braids with extensions follow the same steps, with a few differences.
Rinse the base well
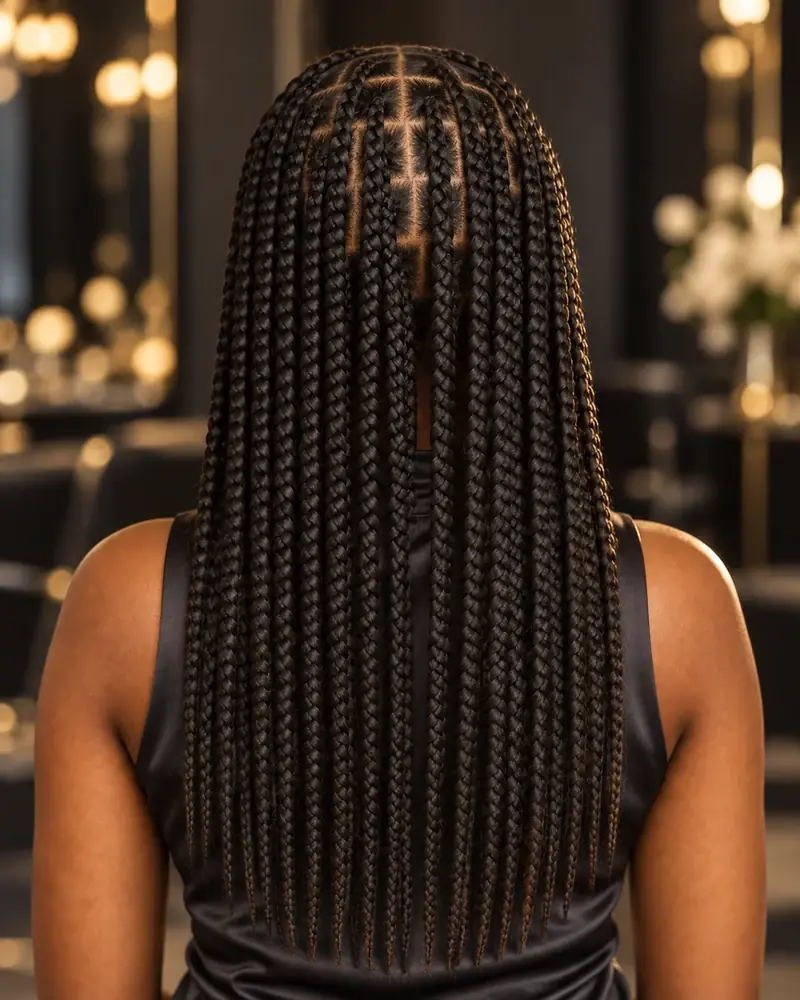
Traditional box braids
The extension is usually attached from the root, so the base is more defined. Aim the water there when you rinse and check it when you dry.
No rubbing at the roots
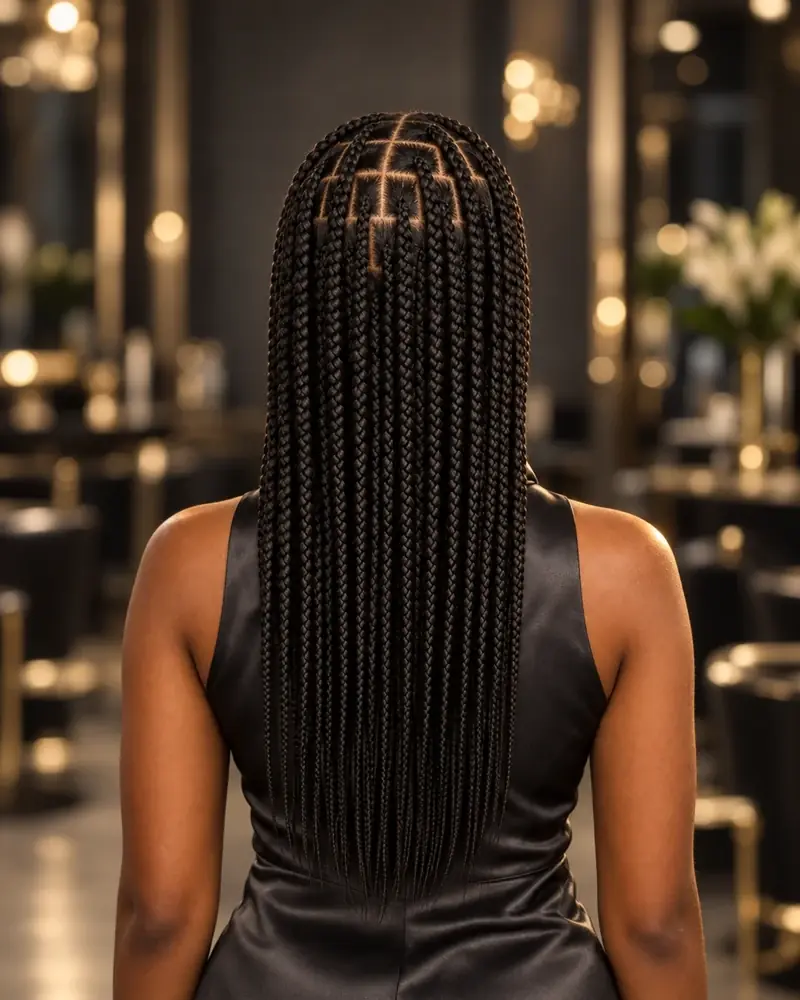
Knotless
They start with your own hair and the fibre is added gradually, so the roots lie flat and may frizz sooner. Massage them with your fingertips, without rubbing.
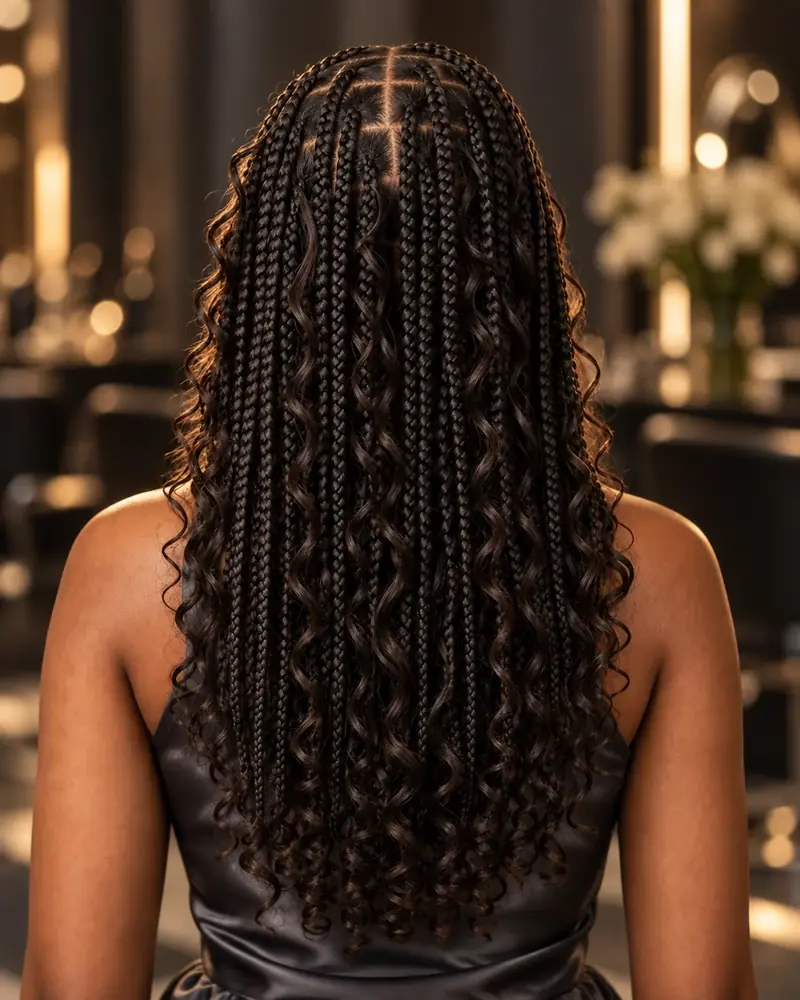
Curls: fingers only
Boho with loose curls
Loose strands can tangle. Separate them with your fingers and do not brush them. Human hair can take a little conditioner; for synthetic fibre, follow the label.
If your braids are jumbo or very long, each one holds more water and is heavier when wet: squeeze them well and allow more drying time.
Wearing two scalp braids? Follow the tutorial to wash and dry them.
When to stop and get advice
Washing will not fix a braid that is too tight. If you notice pain, stinging, crusts or skin lifting around a braid, loosen or take out that section. See a dermatologist if the itching continues after washing, if bumps, flakes or redness appear on your forehead, ears or neck, or if you see broken hairs or thinner patches.
Itching under braids is not usually dryness: a Baylor College of Medicine dermatologist links it mainly to seborrhoeic dermatitis and to reactions to products or dyes. Covering it with more oil will not solve it.
Signs of excessive tension explained by the American Academy of Dermatology.
Continue your braid care routine
Sources for this guide
A guide by AC Trenzas Studio. Scalp advice is based on dermatology sources and the washing technique on common salon practice. It does not replace an assessment by a dermatologist.
BAD: caring for Afro-textured hair, washing and braids
AAD: shampoo, conditioner, towel-drying and heat
AAD: hairstyles that pull and warning signs
Baylor College of Medicine: washing and itching with braids
International Journal of Women's Dermatology: allergic contact dermatitis of the scalp
Cleveland Clinic: why it is best to go to bed with dry hair.