 English
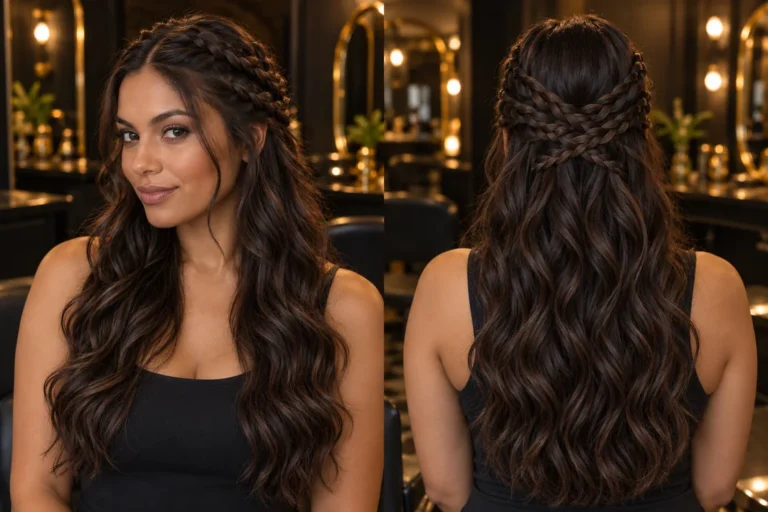
To choose a braid style, start with the finish you like, your own hair length and the time you can spend caring for it. Then decide whether you want added hair. A photo helps explain your idea, but the style needs to suit your hair and feel comfortable from the start.
In this guide
Which style to explore for the look you want
These images are visual recreations from the catalogue. Compare the pattern, volume and lengths; the final style is adapted to your hair.
Dutch braids: learn the crossing technique
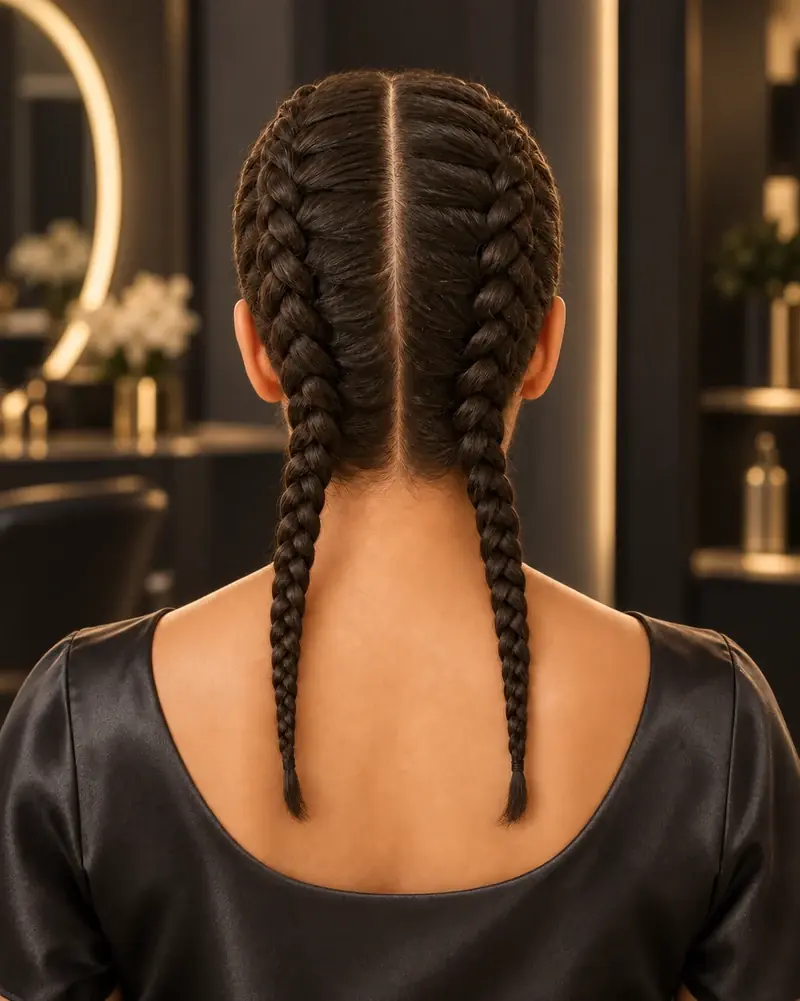
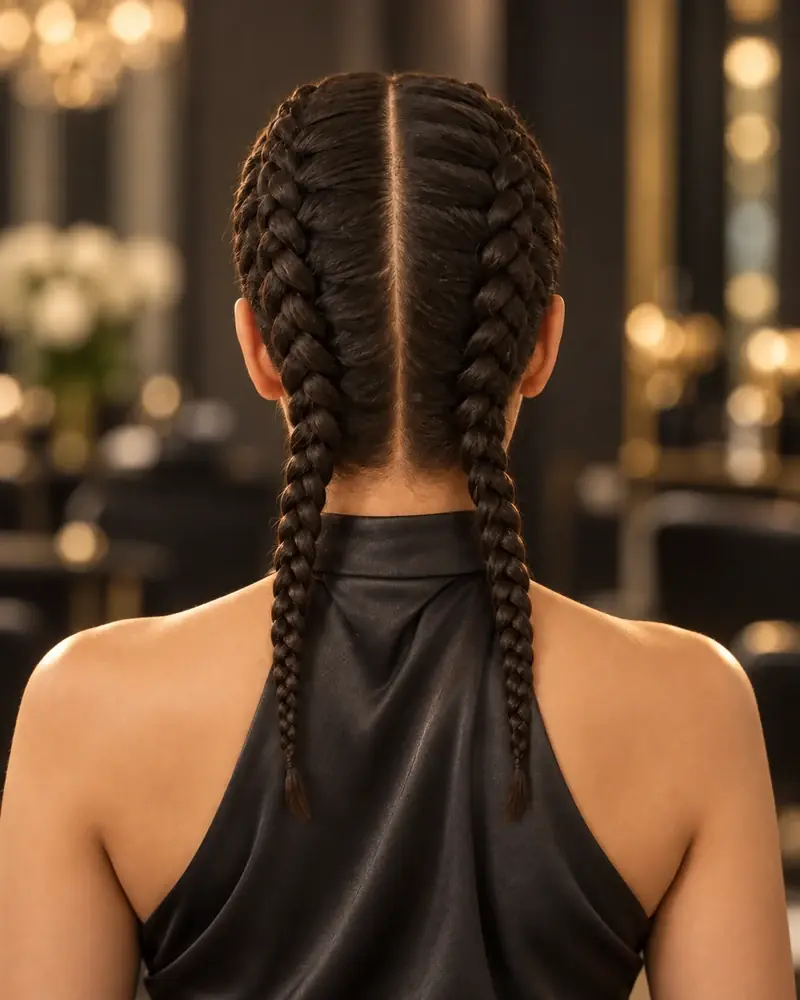
The raised braid makes it easy to see how the strands cross underneath. Try one central braid or two parallel braids with your own hair. If you want a first practice style that you can undo when you finish, start here.
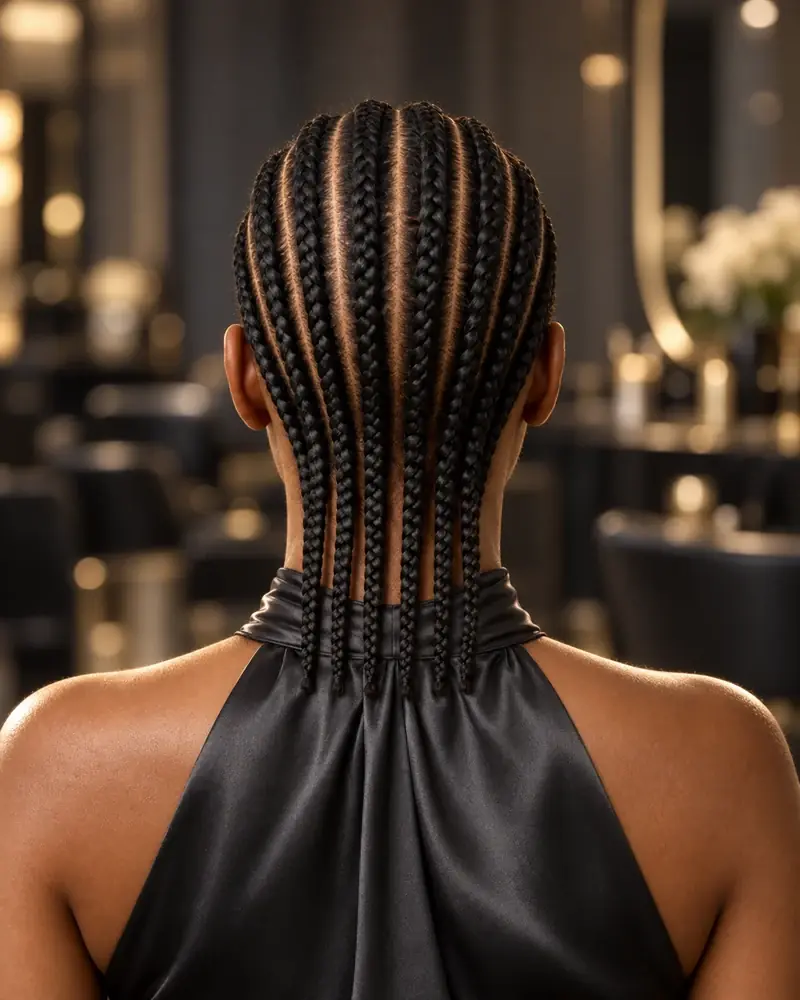
Cornrows: for a defined pattern
Explore cornrows if you like lines that follow the scalp and want your hair away from your face. The partings determine the pattern: changing it later means undoing and rebraiding that area.
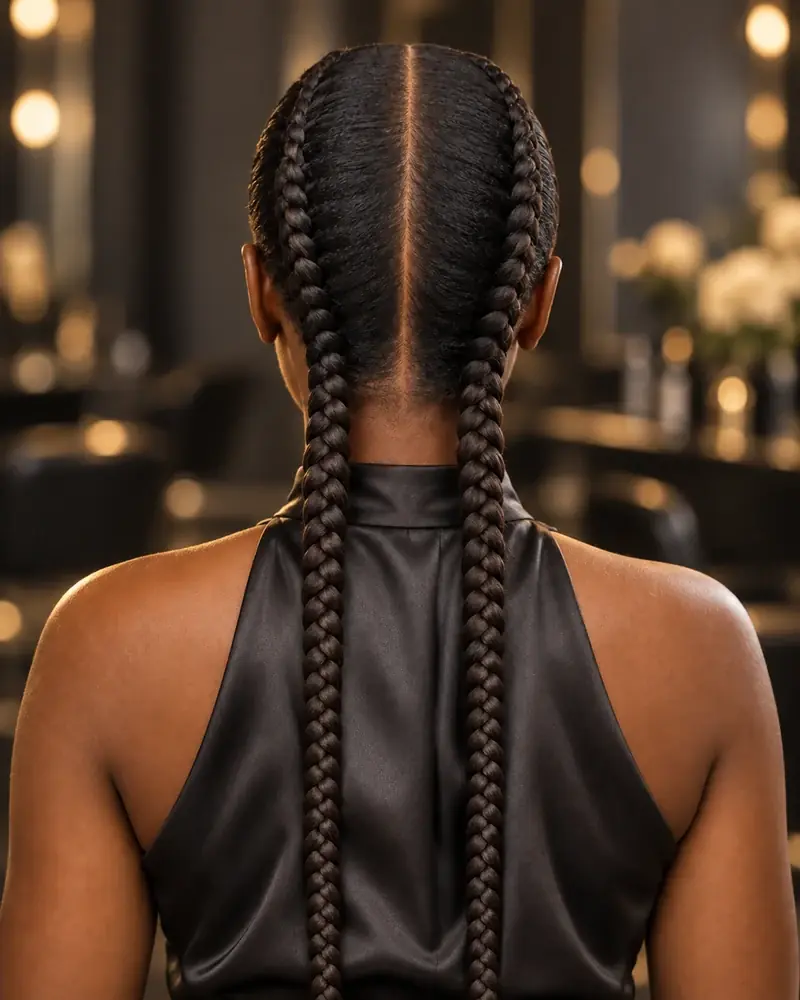
Feed-in braids: add hair gradually
Feed-in describes a way of gradually adding extensions, rather than one fixed hairstyle. Explore it if you like a fine start that becomes thicker along the braid. Compare the finished thickness and amount of added hair, not just the length in the photo.
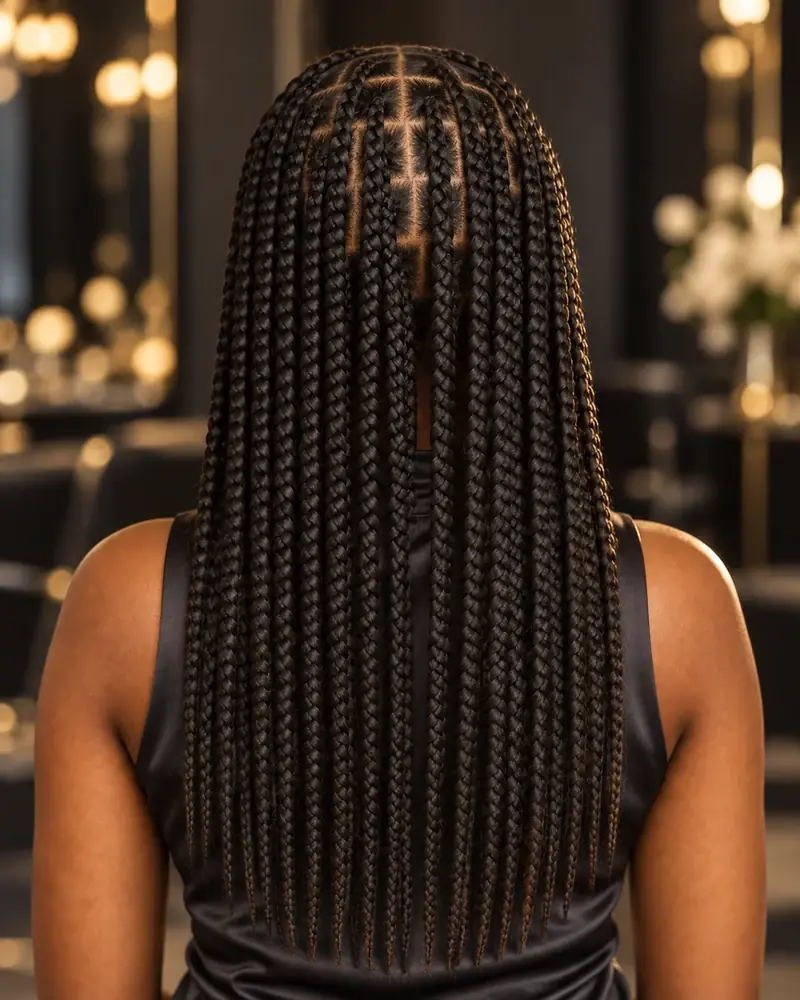
Box braids: for individual braids
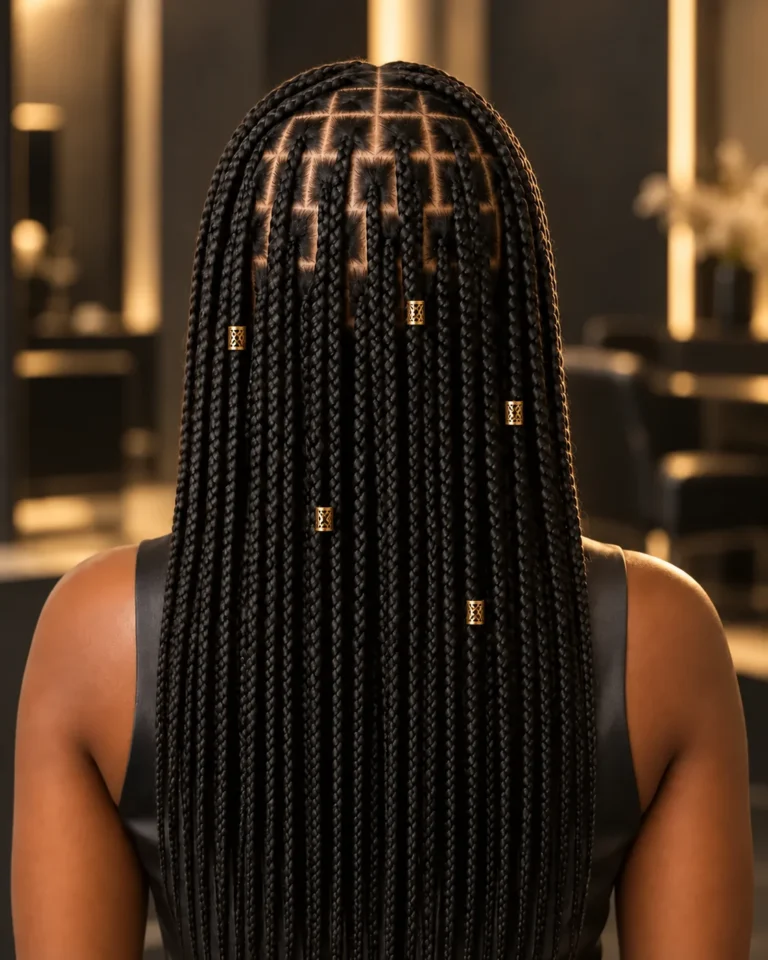
Each braid starts from its own section. Wear the lengths down or put them up without pulling at the roots. Traditional box braids with extensions have a more compact base. Consider installation and takedown time too, especially if you want many small braids.
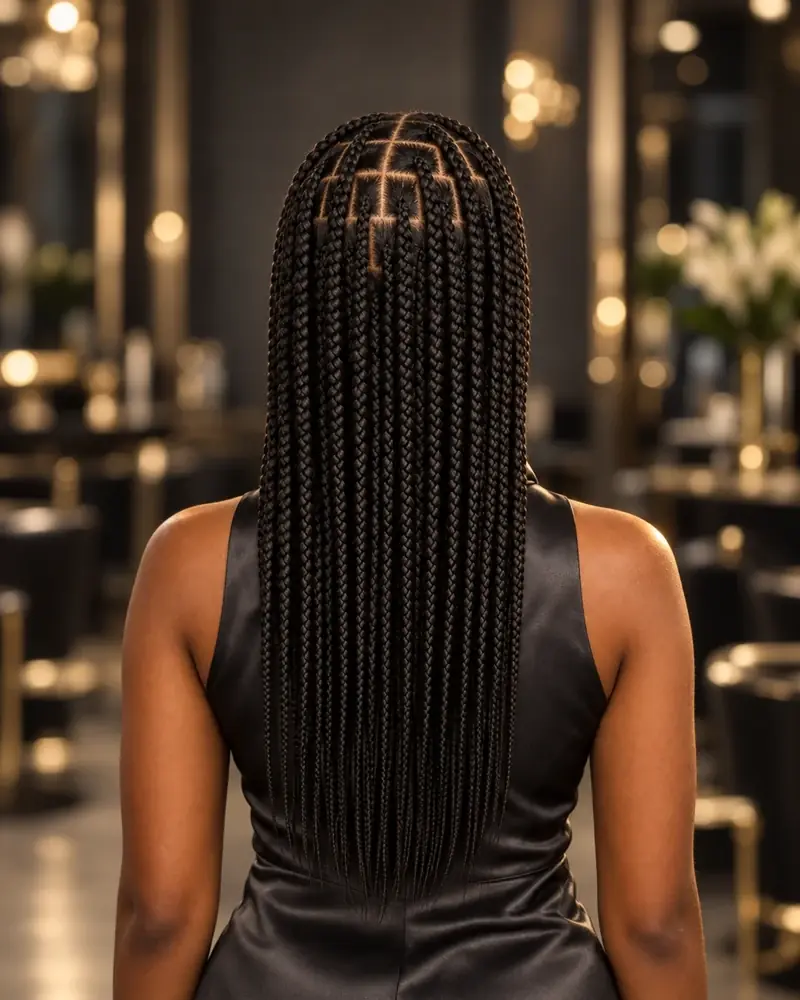
Knotless braids: for a flatter start
These start with natural hair, with fibre added gradually. Compare the roots with traditional box braids. The name “knotless” does not guarantee comfort: tension, the amount of added hair and how each section is braided still matter.
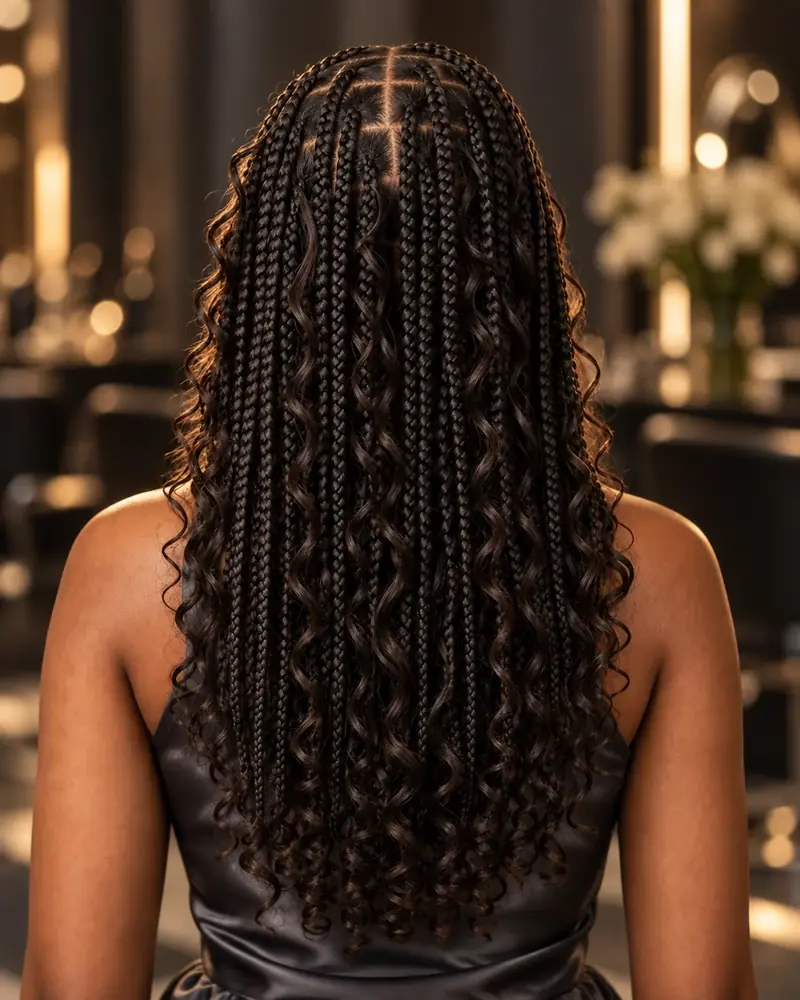
Boho braids: for loose strands between the braids
This finish combines braids with loose waves or curls. Choose it if you like that movement and can give the unbraided strands extra attention. Ask what the strands are made of and how to detangle them: care depends on the material, so they should not all be treated alike.
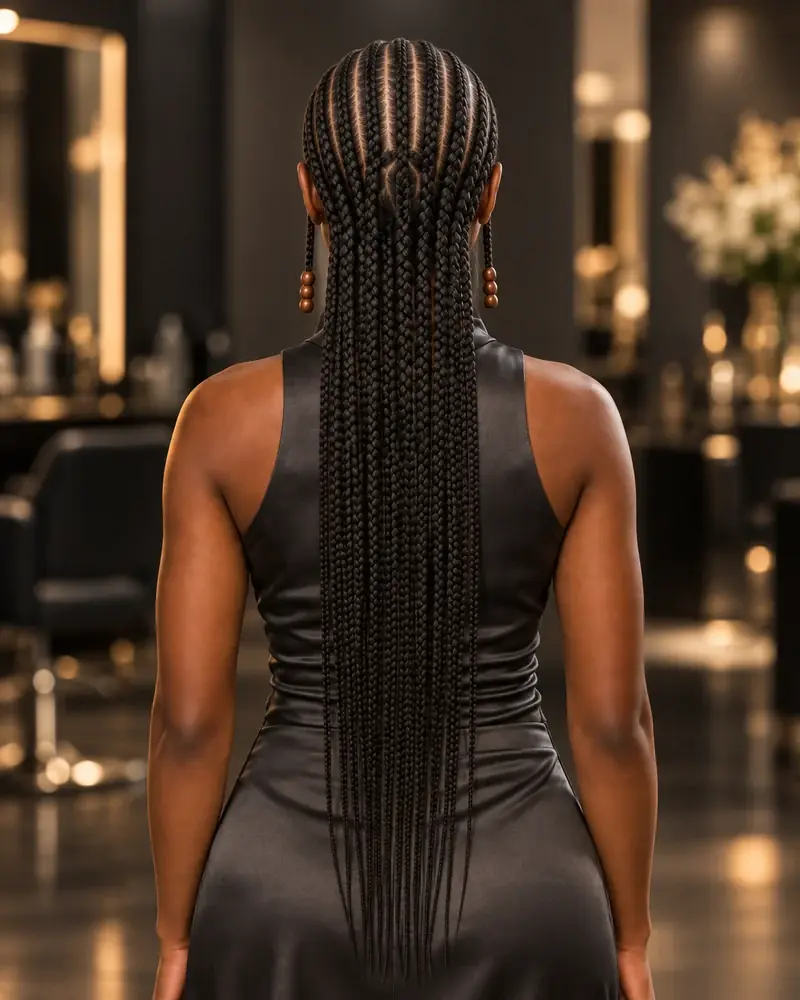
Fulani braids: combine a pattern with loose lengths
The contemporary versions in our catalogue combine cornrows at the front or top with individual braids at the back. Start with a simple reference and decide separately whether to add beads. Decorations are optional and should not feel heavy, catch or rub against the skin.
Start with these three decisions
Close to the scalp or hanging freely?
Dutch braids, cornrows and feed-in braids follow a path along the scalp. Box braids and knotless braids start from individual sections, with the lengths hanging freely. Boho styles include loose strands, while contemporary Fulani styles combine cornrows and individual braids. Consider whether you prefer a defined pattern or more ways to put the lengths up.
Your own hair or added hair?
Braids do not always need extensions. When learning, a Dutch braid with your own hair lets you see the crossings without handling extra fibre. If you want more length, thickness or colour, decide how much added hair you actually want. Longer is not automatically better: you will also need to put it up, wash it, dry it and sleep comfortably.
What works with your current length?
There is no single minimum length for every braid style. Layers, shorter areas, texture and technique all matter. Show your loose hair as well as your reference photo. If holding a short strand requires pulling it tight, change the design; adding extensions does not automatically solve that problem.
If you have short sides or a fade, browse the men’s braid catalogue. Look at where the braiding ends and how much hair is left beyond the cropped sides.
Consider the care routine too
For a single occasion, start with a style you can take out without a long session. If you plan to keep it for several days, allow time to clean your scalp, dry your hair thoroughly and protect it at night. If you exercise, think about when you can wash and dry it afterwards; do not choose a wear time just because an advert mentions it.
Check wear times by braid style
How to protect braids while you sleep
Comfort comes before the photo
No style should hurt. If you notice pain, stinging or lifted skin, loosen or remove it. Seek dermatological advice for hair loss, thinning patches or persistent discomfort. A style name and a neat appearance cannot tell you how much tension the roots are under.
Source: American Academy of Dermatology, hairstyles and traction
Source: American Academy of Dermatology, caring for extensions
What to decide before your appointment
- One or two photos showing both the roots and the lengths.
- Whether you want only your own hair or added fibre, and your preferred length.
- The time you can allow for the appointment, care and takedown.
- Any discomfort or reactions you have had with previous styles or products.
If you are still unsure, choose two catalogue styles and compare their roots, lengths and care needs. A flexible reference is often more useful than requesting an exact copy without considering your own hair.